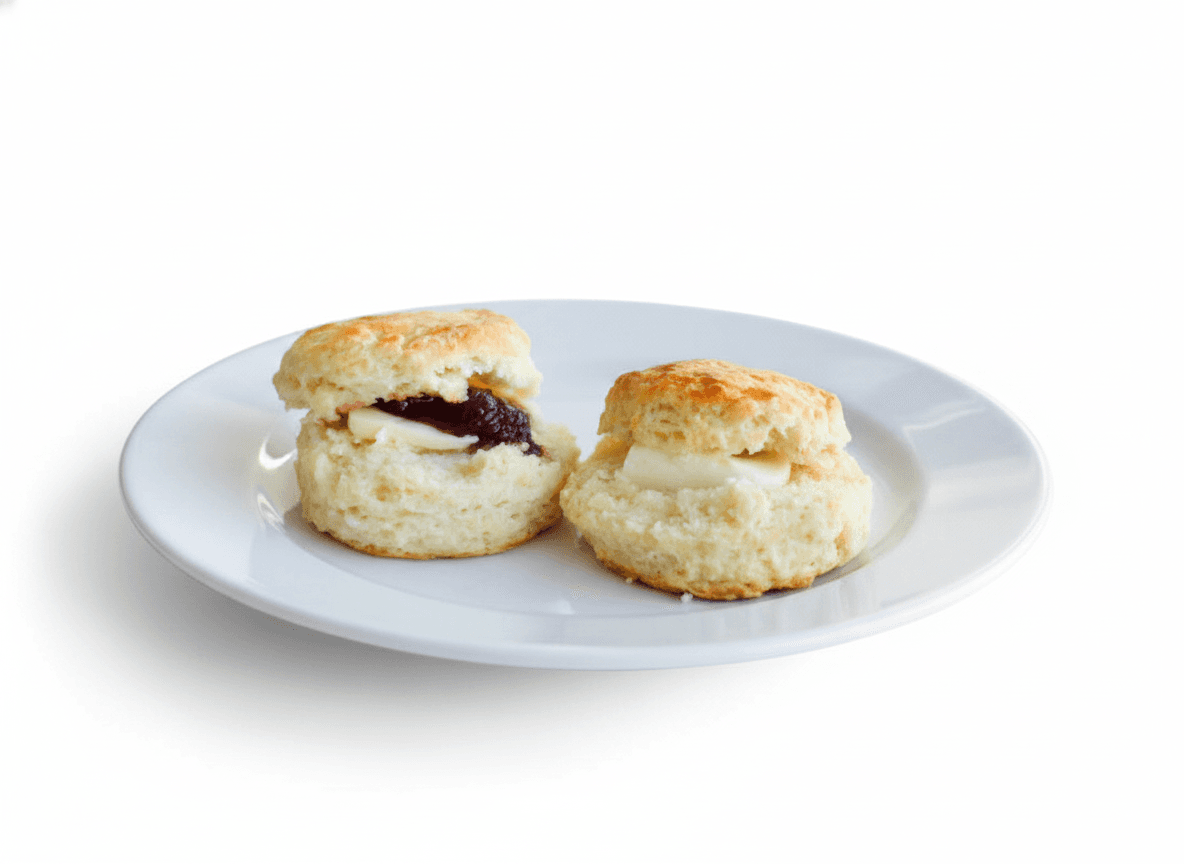
The Grandmother's Buttermilk Scone
Scónaí Bláthaí·(skoh-nee blaw-hee)
The Morning Fry & The Daily Bake
Forget the dense, sugar-bombed triangles languishing in American coffee shops. This is the canonical Irish scone: towering, deeply comforting, and born from the brutal simplicity of soft flour and soured milk. It is a rapid-fire gesture of hospitality, thrown together by a grandmother on a damp afternoon using nothing but instinct and what happens to be in the larder. We employ frozen, grated butter to cheat time on a busy weeknight without sacrificing the flaky, cloud-like crumb. Serve them blisteringly hot, split open, and slathered with salted Kerrygold.
Before you start
Mix the dry ingredients days in advance.
To make weeknight baking instantaneous, measure and whisk the flour, sugar, leavening agents, and salt ahead of time, storing them in an airtight container.
Keep a block of butter permanently in the freezer.
When it's time to bake, you can grate the hard block of butter directly into your pre-mixed dry goods, completely bypassing the tedious process of cutting fat into flour.
Ingredients
- all-purpose flour3 1/2 cup
- granulated sugar1/4 cup
- baking powder1 tbsp
- baking soda1 tsp
- kosher salt1/2 tsp
- unsalted Irish butter6 tbsp
- cultured buttermilk1 1/2 cup
- egg1 large
Method
- 01
Preheat the oven and place a baking sheet inside to get screaming hot.
Set your oven to 425°F. Hitting a preheated tray gives the scones an immediate thermal shock, kicking off the rise before the crust has time to set.
- 02
Vigorously whisk the dry ingredients together in a wide mixing bowl.
Combine the all-purpose flour, granulated sugar, baking powder, baking soda, and kosher salt to ensure the leavening agents are perfectly aerated and distributed.
- 03
Grate the frozen butter directly into the flour mixture.
Using the coarse side of a box grater immediately creates uniform, cold shards of fat. Lightly and rapidly toss the butter in the flour with your fingertips until it resembles coarse breadcrumbs, being careful not to melt the fat with your hands.
- 04
Mix the dough using the traditional claw method.
Make a well in the center and pour in the cold buttermilk. Form your dominant hand into a stiff claw and stir in wide, concentric circles from the center outward, stopping the very second a soft, shaggy dough forms.
- 05
Turn the dough out and fold it over itself to build flaky layers.
Do not knead the dough. Gently pat it into a rough rectangle, fold it in half, give it a quarter turn, and pat it down again. Repeat this folding process twice, then pat the dough out to a thickness of about 1.5 inches.
- 06
Stamp out the scones with a straight, untwisted downward motion.
Dip a 2.5-inch round pastry cutter into flour, press it straight down into the dough, and pull straight up. Twisting the cutter seals the edges and entirely kills the rise. Gather any scraps, pat out once more, and cut the rest.
- 07
Glaze and bake on the preheated tray until towering and deeply golden.
Carefully remove the hot tray from the oven, line it with parchment, and place the scones an inch apart. Brush the tops lightly with the beaten egg and a splash of buttermilk, avoiding the sides. Bake for 14 to 18 minutes.
Notes
Respect the ambient temperature of your kitchen.
If your kitchen is hot and the grated butter feels like it's melting, toss the cut scones on a tray in the freezer for 10 minutes before baking to relax the gluten and resolidify the fat.
Scones wait for no one.
The chemical reaction between acidic buttermilk and baking soda begins the second they meet. Do not let the wet dough sit around; get it into the oven immediately.
From Cook Irish-American Food.